 Mobile home owners get overlooked.
You see plenty of guides on installing security cameras in a house or office building.
You even have guides specifically for the garden, a greenhouse, a pool house, a garage and more.
But if you want help installing security cameras in a mobile home, there’s not much out there.
That’s why we created this 10 step guide.
The truth is: it’s a fairly simple process. The key is to plan your security system out in advance. You want to know exactly what components to buy and where they will go, before you even start.
And that’s what we’ll help you do below. Jest keep reading.
Table of Contents
- 1 How To Install Security Cameras In A Mobile Home
- 1.1 Materials Needed
- 1.2 Step 1: Do Your Research
- 1.3 Step 2: Determine What You Need
- 1.4 Step 3: Develop An Action Plan
- 1.5 Step 4: Adjust Outdoor Lighting If Needed
- 1.6 Step 5: Make Your Purchase
- 1.7 Step 6: Set Up Your Recording Device
- 1.8 Step 7: Perform A Camera Test
- 1.9 Step 8: Complete Camera Installation
- 1.10 Step 9: Placing Your Camera Wires
- 1.11 Step 10: Set Up Your Mobile Monitoring
- 2 Security Cameras In Mobile Home: Final Thoughts
How To Install Security Cameras In A Mobile Home
Materials Needed
Most cameras are easily set up on your own, but you will need a few basic tools.
- A ladder
- Hammer
- Screwdriver
- Screws and molding pins
- Wire clips to attach wires to the wall
- Drill
- Pencil for marking drill holes
Step 1: Do Your Research
This step probably goes without saying, but there are so many different security cameras on the market, we had to talk about it.
While you can use nearly any type of camera for a mobile home, just like you would for a permanent house, there are a few things to consider.
For example, traditional security systems with monitoring via a company may be out of the question, based on your location, or the community-style setup of your mobile home park. You’ll probably want a self-monitoring security system.
However, that doesn’t mean you don’t have plenty of options when it comes to installing security cameras in a mobile home. You’re just more likely to be doing everything yourself.
But that means you can choose the exact types of cameras you want. Consider these options for boosting your home security.
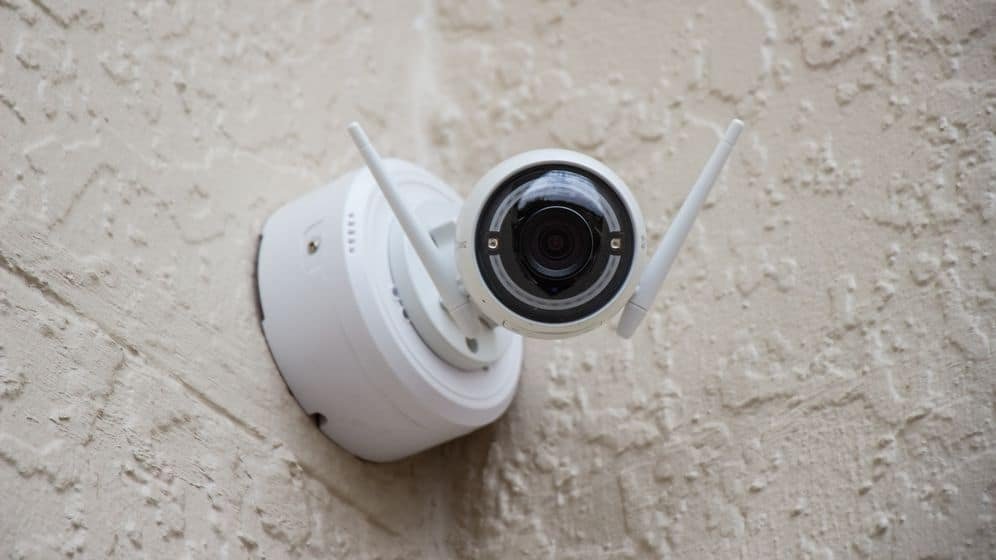
- Infrared security cameras: The advantage of an infrared camera is the quality of footage in less-than-ideal lighting conditions. They can provide clear pictures, even with low lighting.
- Dome Security cameras: These types of cameras have the shape of a glass dome and are placed on a ceiling. They have a rotating camera inside that usually has a wide angle of view.
- Professional box security cameras: These cameras are best for daytime video but have good visibility during the nighttime hours. They are easily visible, making them a good deterrent for any intruder.
- Pan/zoom security cameras: Very similar to a dome camera, these are installed on an arm that allows for better visibility and field of motion. PTZ security cameras are an expensive option because they are controlled remotely.
- Hidden security cameras: A hidden camera is known for its small size. They can be placed almost anywhere but don’t always offer the best footage.
Along with knowing what security cameras are on the market, consider the cost. An HD camera is going to cost more than the basic camera kit.
Home cameras should not cost you over $100.00 per camera. You can purchase a basic kit for around $250 that comes with multiple cameras and a recording unit.
Of course, if you want to spend more money, you can purchase the cream of the crop HD camera for about $600. You could also potentially use a camera you already own, like a trail camera.
Step 2: Determine What You Need
Now you know what cameras you can choose from, but before you make that purchase, you need to determine what your needs are and what to look for when buying a home security camera system.
Here are some questions you should answer before buying any cameras.
- Are the cameras for indoor or outdoor use? Not every camera can handle outdoor weather conditions like rain and snow. Some will need protection from the elements.
- Do you want to be discreet or visible? Are you wanting to catch intruders in the act or deter an intruder, to begin with? Do you want to hide the camera in plain sight?
- What type of monitoring do you want? Some security camera systems have a monitoring service included. To use this service, you will have to pay a monthly or annual fee for continued usage. Some cameras will record video to your computer, while others let you do the monitoring live.
- You will also have to decide the number of cameras you need. This decision has many variables to consider, such as mobility, the field of view, and the cameras you desire. Though many manufactured homes have less area to cover, you may have preferences when it comes to areas that need surveillance. We suggest securing potential threats like windows and doors first. If you need more, you can always purchase them later.
Step 3: Develop An Action Plan

Before making any purchase, it is important to plan your attack. With a well-thought-out plan, you can be confident in your purchase and end result.
Walk around your home and draw a diagram. It doesn’t have to be complex or even look pretty, but it should note where any windows, gates, doors, or anything else of importance is located.
While drawing your sketch, take notes on where there is low lighting at night and where you store items outside your home. Highlight any location you feel needs to be more secure.
Now that you have your sketch, you can decide where you want your security cameras.
Step 4: Adjust Outdoor Lighting If Needed
An expensive camera with awesome low-light capabilities may not be in the budget for an already stretched wallets. If you can’t swing the expensive camera, you could consider installing a few lights outside your home.
Daytime security is important, but I know I feel safer with a camera that can catch a prowler at night. I want a camera with night vision capabilities.
For our benefit, most cameras on the market have the ability to switch from black and white to infrared recording in low-light conditions. There are still some cameras that you will need to switch manually.
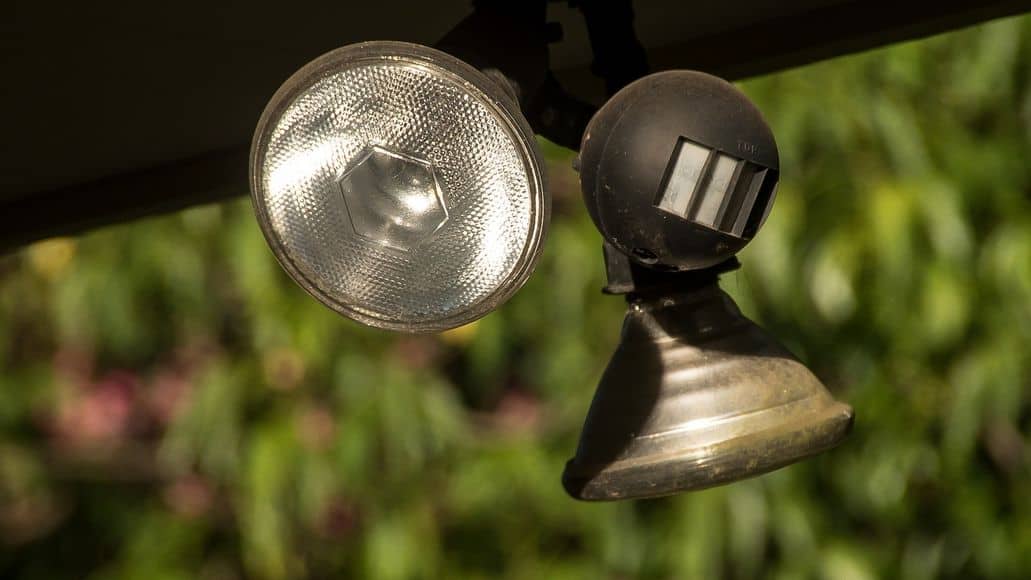
But if night vision cameras are outside your budget, lights with motion detection are a great alternative. They are inexpensive and also serve as a deterrent for potential intruders.
However, if you live in a mobile home community, an automatic light could be more hassle than it’s worth. Every passing neighbor or pet could trigger the lights. Even if it doesn’t bother you, your neighbors might come to hate you.
Step 5: Make Your Purchase
This step is the most obvious, but our list wouldn’t be complete without mentioning it. Once you make your purchase, you will have to do a few things inside before you mount your new cameras on your home.
If you purchased a camera kit, then there should be paperwork that has all the instructions. Be sure to consult those along with our list.
Before we discuss the next steps, it’s important to know that these are broad instructions. Every camera system is a bit different. If you don’t feel comfortable making this a DIY project, contact a professional.
Step 6: Set Up Your Recording Device
Recording devices are usually included in security camera systems. If not, then you can still connect your device to a computer, or perhaps a smartphone.
You will need to choose a good location to place your recording system to ensure all cameras are installed within range.
My advice is to know what the storage capabilities are for your recording device. Higher resolutions are great, but they use up more storage space, so you want to make sure you have enough.
You can choose to go wireless, in which case we recommend placing your recording device near your router. Wi-Fi is not a required feature, but it is preferred because it can’t be tampered with.
There are no wires to cut or damage. However, hackers could gain entry to your system, so make sure your router is password protected with a strong password and your Wi-Fi connection is secure.
Step 7: Perform A Camera Test
Before installing your cameras, test them individually by setting them near the recording device. You want to guarantee they work correctly before installing them.
Refer to the product manual to administer the camera test. Wireless cameras need to be connected to the Wi-Fi router. The good news is that with most mobile homes, you can achieve full camera coverage without going out of Wi-Fi range.
Step 8: Complete Camera Installation
Installing most cameras requires screwing or mounting them to a wall or other structure. There are many differences between wireless and wired cameras, in terms of how they need to be installed.
Not all cameras are made to tilt or zoom. You have to consider the mobility of your camera before drilling the first hole.
Consider how large an area you are trying to monitor, to get the most security coverage from your cameras. Even small spaces could require multiple cameras, if they have lower mobility.
Now is the time to reference the sketch you completed in step three.
To mount a camera, hold it in the desired location, and draw marks for the holes. Never drill a hole until you are sure your camera will be in the right place.
Using your drill, make the holes, and install the mounting pins. Lastly, screw the camera onto the mount.
You can use suction cups or sticky pads for mounting, but we don’t recommend them. They don’t give the most reliable hold.
The goal is to mount your camera as high as possible. The higher the camera, the wider the field of view. A higher camera is also harder to interfere with.
Step 9: Placing Your Camera Wires
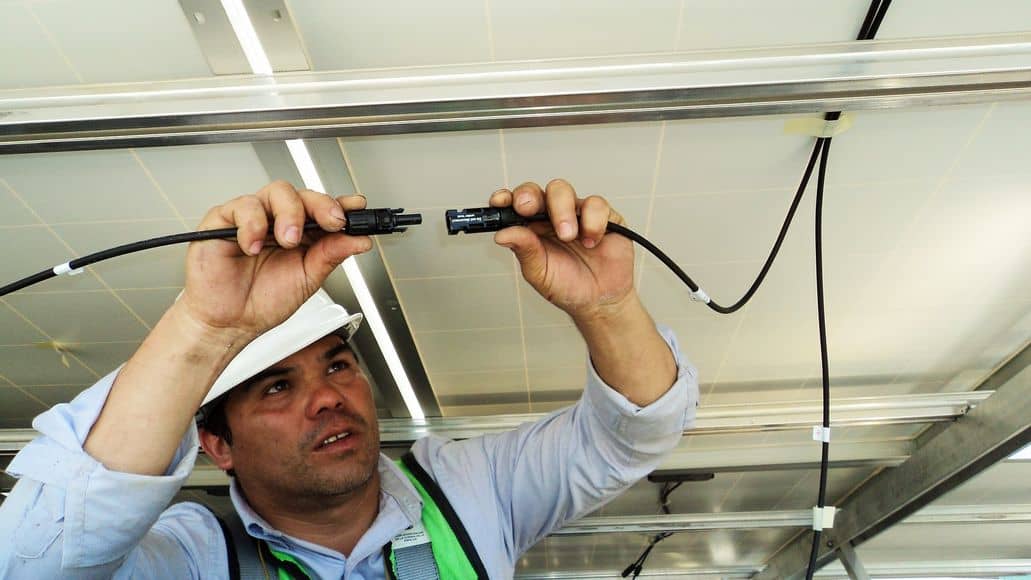
You must attach your camera to a power source, unless it is solar or battery powered. If you have purchased a wired camera, it must be attached to the recording box.
You will need to grab your wire clips and use them to place your wires in an inconspicuous location. You can use the corners of your door frames or walls to hide wires, but manufactured homes also lend themselves to hiding wire inside the walls.
Depending on where and how you install your cameras, you may be able to tuck the wires inside the wall for protection and a cleaner look.
Step 10: Set Up Your Mobile Monitoring
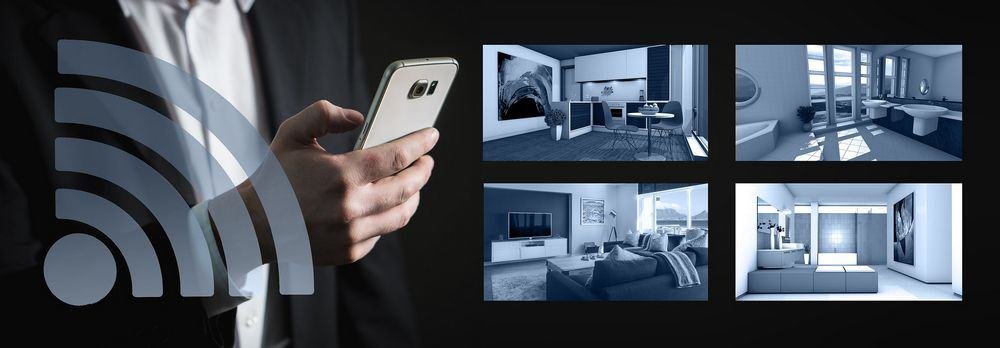
 The 21st century has been kind to us. We now have the technology to monitor our homes from anywhere using a mobile device.
This is super-convenient and can put you at ease at all times. Not only can you monitor the cameras, but you can also receive notifications and control the camera from your phone.
Setting up your mobile monitoring is easy. All you need to do is download the app your camera uses and enter some information. Then you’re done.
Some cameras will alert you with a notification when they detect motion. Mobile monitoring puts you in control of your home. Anytime, day or night, you can access your security camera system with mobile monitoring.
Security Cameras In Mobile Home: Final Thoughts
Setting up security cameras in your mobile home is not much different than doing it in a fixed home. The main difference is that the scale is generally smaller and you are more likely to do it yourself.
It is also more likely that you will use Wifi enabled cameras that you can control from your smartphone, rather than a wired system that connects to a central recorder. It is much easier and more than enough for most mobile homes.

- A Guide To Protecting the Elderly Online - September 14, 2021
- Imou Security Camera Review: For Complete Peace of Mind - August 5, 2021
- Guide To Anonymous Browsing - July 15, 2021
Not one tip on how to install wired cameras on a mobile home. What a waste of time.
You gave no tips for installing the cameras in a mobile home that don’t apply to regular homes. Step 9 gave no tips for running cables specifically for a mobile home, or any home for that matter. The article starts out saying that mobile home owners get overlooked. After reading through your steps… they are still overlooked. What a waste of time.
how do you run the cables through the wall without an attic or crawl space , and without runing them under the house?